
Adding a beautiful trellis to your kitchen garden just raises the bar and makes an artistic statement. And a trellis is perfect for corralling vining plants like tomatoes, peas, beans and cucumbers. But first . . . you have to put it together!
These instructions are for putting together the Border Tuteur oblelisk trellis sold by Gardenary:
Step #1
Unpack the box and make sure you have all the correct pieces. And a set of instructions - that's important even if you're the type of person that doesn't really follow the instructions. The pieces will likely be marked so accounting for each of the pieces should be pretty easy.
Step #2
Place the upper main frame pieces together as shown in the instructions, with thread from the lower piece passing up through the second piece. Rotate the finial down onto the thread until finger tight. Fit the lower main frame rods into the upper main frame sockets. Be absolutely sure that all the welded tabs with holes on the lower rods are pointing in the same direction as the tabs with holes in the upper assembly. This is essential for correct ring assembly.
Step #3
From above, place all 4 rings over the outside of the main frame and lower the rings to the ground. Raise the first ring up to the topmost welded tabs and align the 4 holes in the ring with the 4 holes in the tabs. From opposite sides, pass 2 bolts from the outside through ring and holes in brackets. Leave the 2 remaining holes in the ring empty for now. Put nuts onto the bolts from inside and finger tighten. Repeat for the remaining 3 rings, making sure that you line up the bolts and nuts for each ring. The outside swirls go on last and besides being decorative, they firmly lock the top half to the lower half so when your trellis is assembled, it will look and feel as solid as if it had been welded together.


Step #4
Take one of the side curved strips and starting from an empty hole in the top ring, place a bolt through one end of the curved strip, then through the ring and bracket. Then fasten with a nut on the inside. Repeat for the lower end of the same curved strip, securing it onto the lower ring. Then add the other curved strip for the top assembly. When you attach the two curved strips for the lower assembly, make sure they line up with the upper strips to give the appearance of a continuous curve from top to bottom. Tighten all the nuts and bolts with the wrenches.


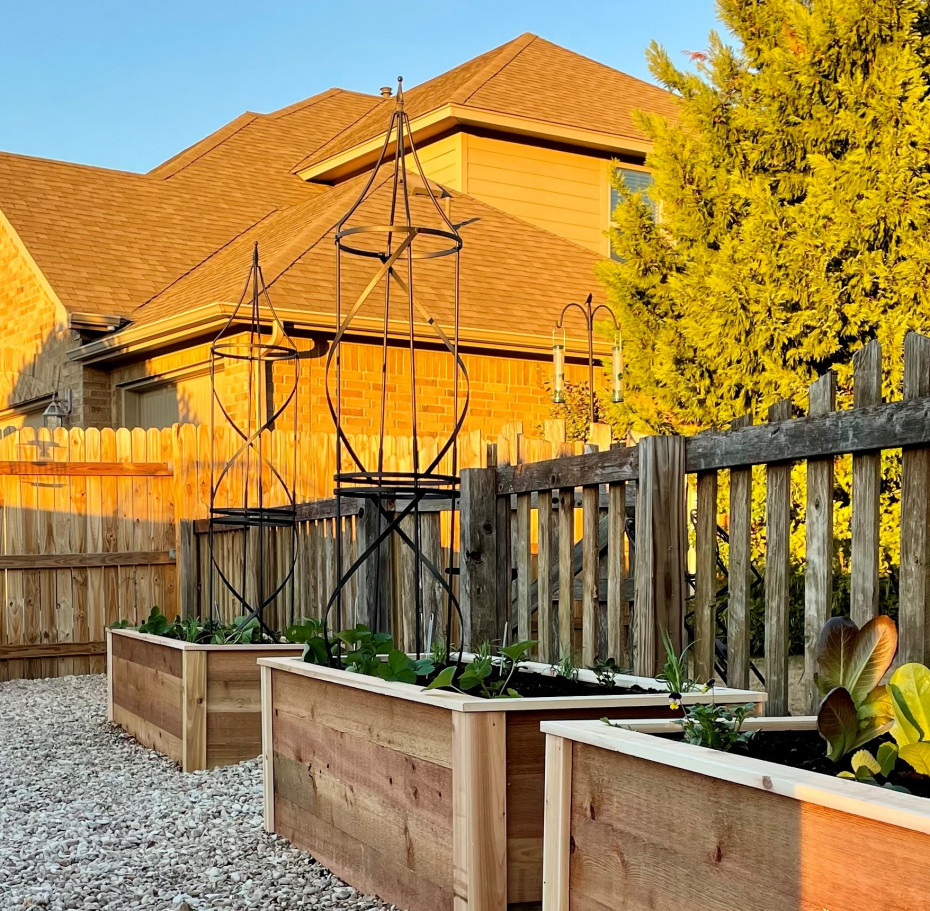
Ta Da!!!! You're all done. Your Border Tuteur obelisk trellis is now fully assembled and ready to be pushed into your garden. Now your kitchen garden has a super stylish obelisk trellis which will look awesome in the summer covered in tomatoes or cucumbers, and beautiful in the winter all covered in snow.
Check out the obelisk and other trellises in the Gardenary shop. Choose your favorite to add to your kitchen garden!
Find a Trellis in the Gardenary Shop
Set up in the kitchen garden is key to success. Here you'll find the trellises, raised beds, tools and supplies that the Gardenary consultants use in their own gardens and the gardens of their clients.