

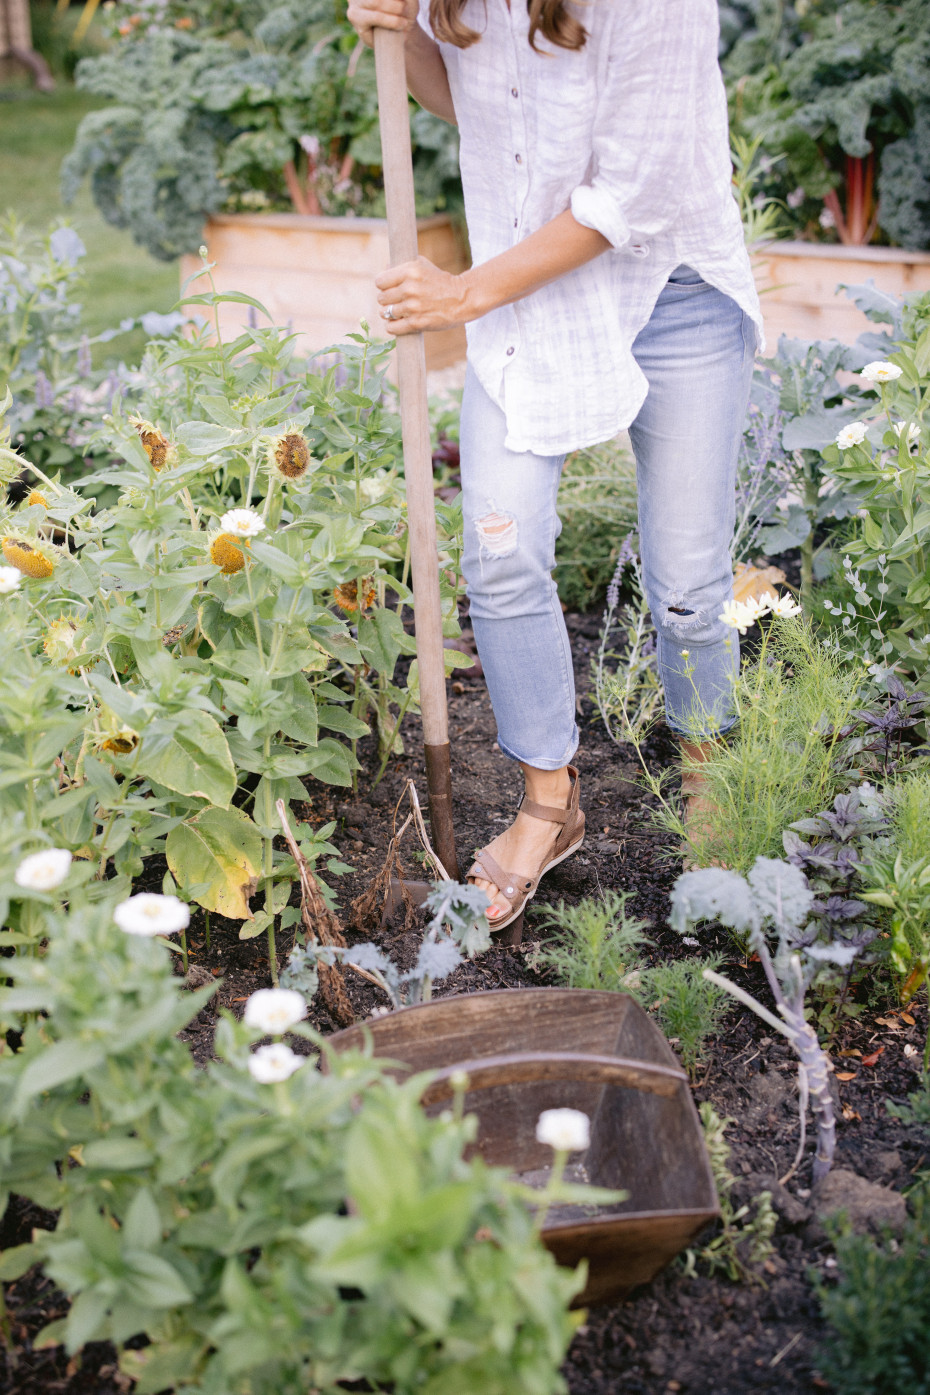
Forget the containers, pots, and bags. I’ve got the dirt on how you can grow your own spuds right in your backyard.
Every family tree has at least one cousin that doesn't quite fit in, right? For the Solanaceae family, that cousin is the humble potato, which likes to grow a little differently than its tomato, pepper, and eggplant kin.
For that reason, I’ve found over the years that I actually prefer raising my potatoes outside of my raised garden bed. Potatoes take up a lot of space and thrive in a different soil pH level than the rest of my veggies. I bury my potato tubers in the ground of my pollinator garden, but you can plant yours wherever you’ve got at least 6 hours of sunlight.
Here’s a step-by-step guide to growing your very own organic potatoes:


Step 1: Put in the muscle work. Dig a trench about one foot deep. Tomatoes can go in the ground earlier than their cousins, so I plant mine 2 to 4 weeks before my final frost date. If the soil can be worked, plant away, my friends.
Step 2: Pack in the dirt. Potatoes prefer more acidic dirt. You can buy acidifiers to amend your garden soil, but I’ve found that potatoes planted in compost grow totally tubular, as well. Add about 2 to 3 inches of compost in the trench. I use Espoma’s Organic Mushroom Compost.

Step 3: Add the seed potatoes. I buy a variety of seed potatoes from my local nursery, though I’ve also had success planting organic potatoes from the grocery store that have sprouted eyes. This year, I went with Purple Majesty and Russian Banana.
You can plant the whole tuber or cut it into pieces to plant each eye separately. If you do cut, give the pieces a good 24 hours to scab over before planting—that’ll help you avoid rot and mold once they go in the ground.
Place the growths sprouting from each eye upward. I plant about 12 inches apart, even when the packet directions suggest more space. We like to break the plant-spacing rules here at Gardenary. Add in some mulch, but don’t fill in the trench completely just yet.

Step 4: Water. Once you’ve covered your little tubers up, give them a good watering in.
Step 5: Add more dirt. Over time, add mulch and compost to allow the tubers to grow underground. As they develop, you’ll see leaves that look similar to their cousins.
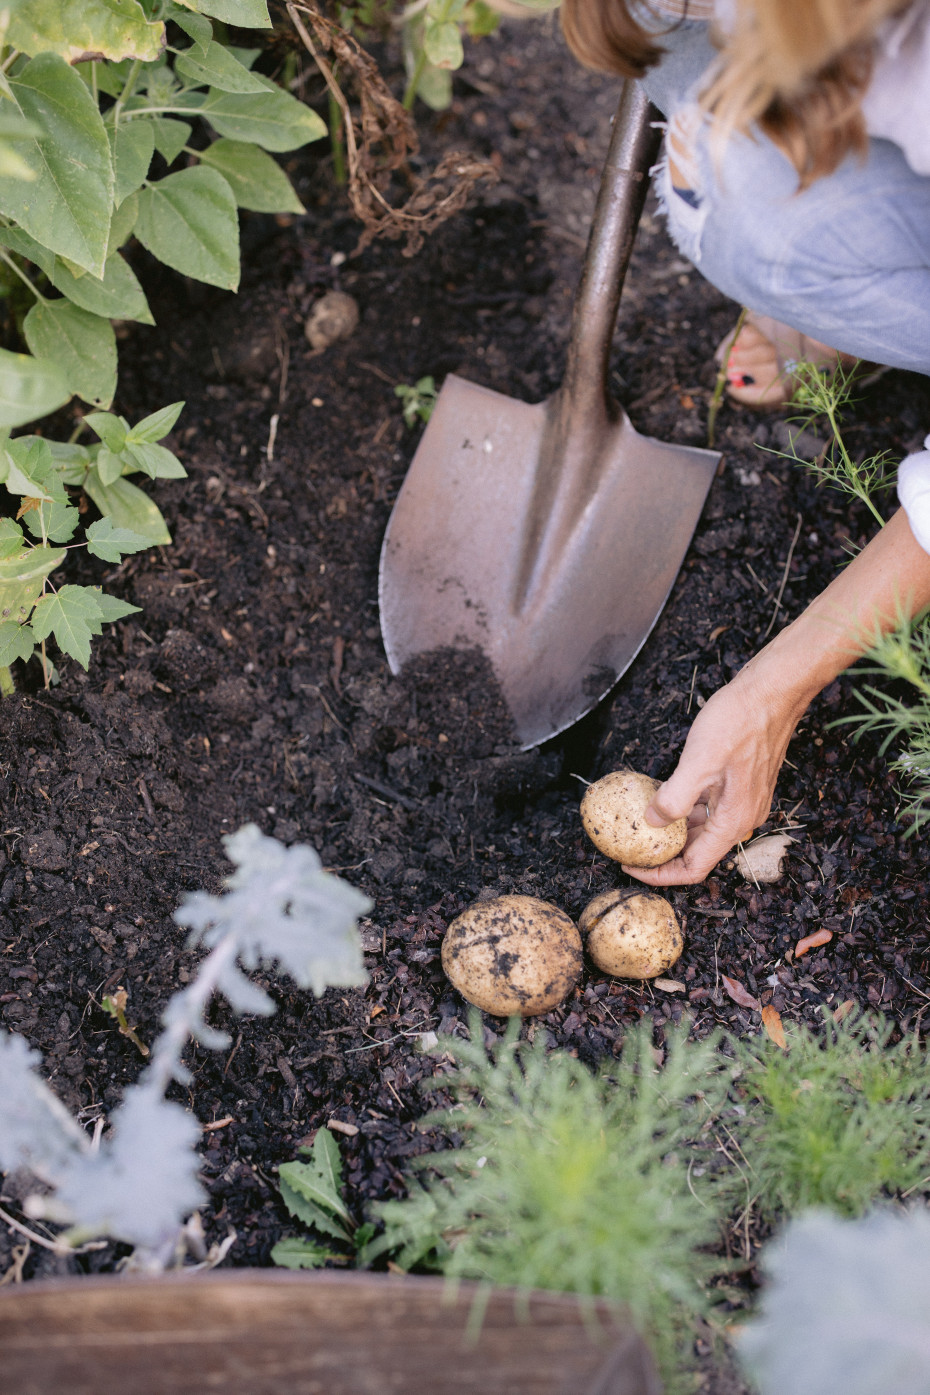
Step 6: Reap the rewards. I harvest my potatoes about 90 to 100 days after planting. I usually get 5 to 6 potatoes off of each tuber I planted.
Digging up potatoes at the end of the summer will very well be one of the simplest, purest joys your garden can give you. Will you plant your own potatoes this season? Check out the different resources we have to keep you growing all summer long!

Kitchen Garden Academy
Now enrolling! Kitchen Garden Academy is an online video course that teaches new(ish) gardeners how to design and create beautiful raised bed kitchen gardens and grow the most productive organic plants.